Add Citations with Our AI Writer whilst checking your work for plagerism and AI detection.

Ryan McCarroll
2 min read

Notebook (AI Writer, Citation Management, AI/Plagerism Check)
Click Notebook at the top of your review. This is your writing surface, wired to your sources and follow-ups. The way to win here is to save what matters as you go and draft right beside it.
First, save text from your literature review. When a paragraph explains a concept you’ll reuse, highlight it and click Add to Notebook. What lands in the left pane isn’t a dumb paste; it comes with the source (title, authors, year, DOI) attached, so you can always jump back to the exact paper row.
Second, save tables of research papers you found useful. Choose the papers you want and click add to notebook. The table drops into your doc as a clean block you can refer to and re-order. Because it’s connected, if you click a citation inside that table, you’ll still be able to open the paper row, read the abstract highlight, or add another custom extract without leaving the draft.
Third, save from any text in the canvas. You can highlight parts of the generated literature review, a follow-up section, or even a note you wrote to yourself in the canvas and add them to the Notebook as bookmarks. This stops the “where did I see that line?” hunt later and lets you assemble your draft by moving blocks you already vetted.
Drafting here is straightforward. Create a short outline with H2/H3 headings that match the way you’ll present the work. Drag your saved blocks beneath the right headings. Write in your own voice around those blocks. Highlight pieces of text to use AnswerThis's AI editor to change your text.
If a paragraph needs a bridge you don’t want to write from scratch, open Full Notebook.
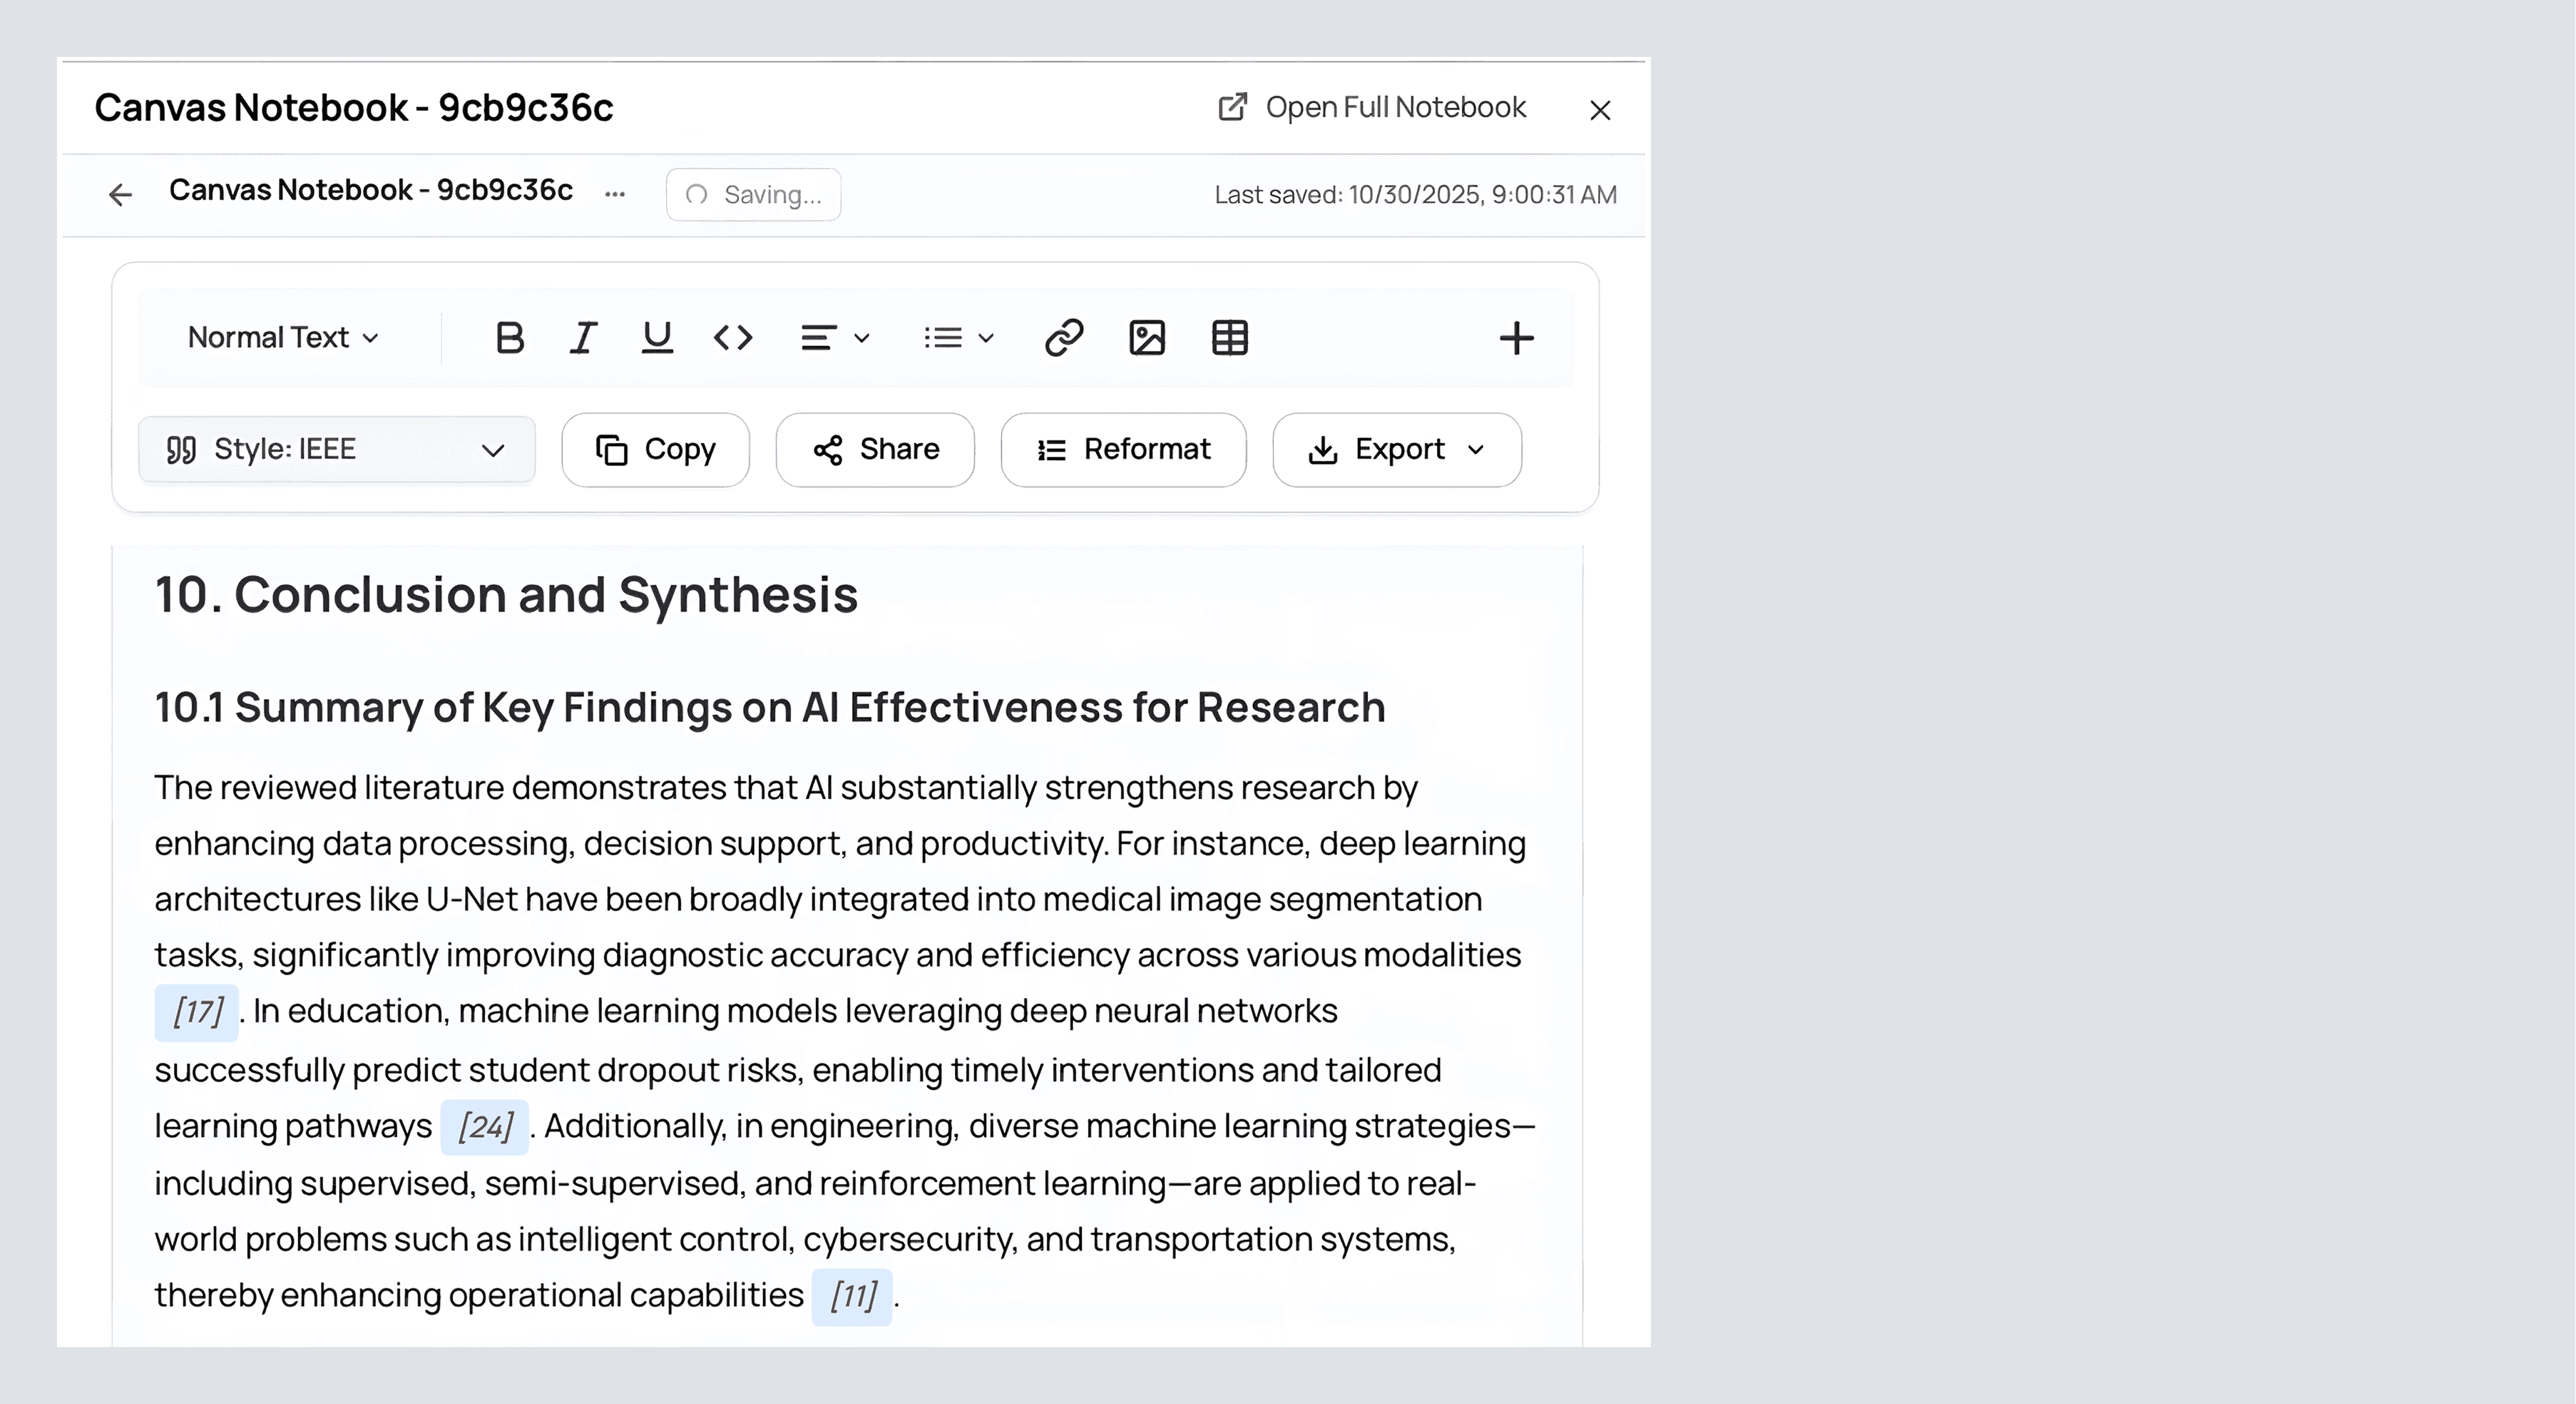
Click Open Full Notebook in the top right. The right side of the screen now shows your Review, Sources, Analysis, and Library, everything you’ve curated, stacked, and searchable.
We will see all the notes, or we can import our entire literature review into the editor by clicking edit with AI on the right hand side. We can also ask follow-up questions here to create even more literature to use. Just above this, we can also click on the source. Here, we can find the table of all the papers that AnswerThis found.
After you're happy with your draft, we can finally dive into editing and writing up to the standard you want. On the left, where you can see all your writing, you can edit it exactly as you would a Word doc: bold text, italic text, underline text, etc. More exciting, we can also insert an image if we wish, hyperlink a piece of text, and a table to make our writing more complete.
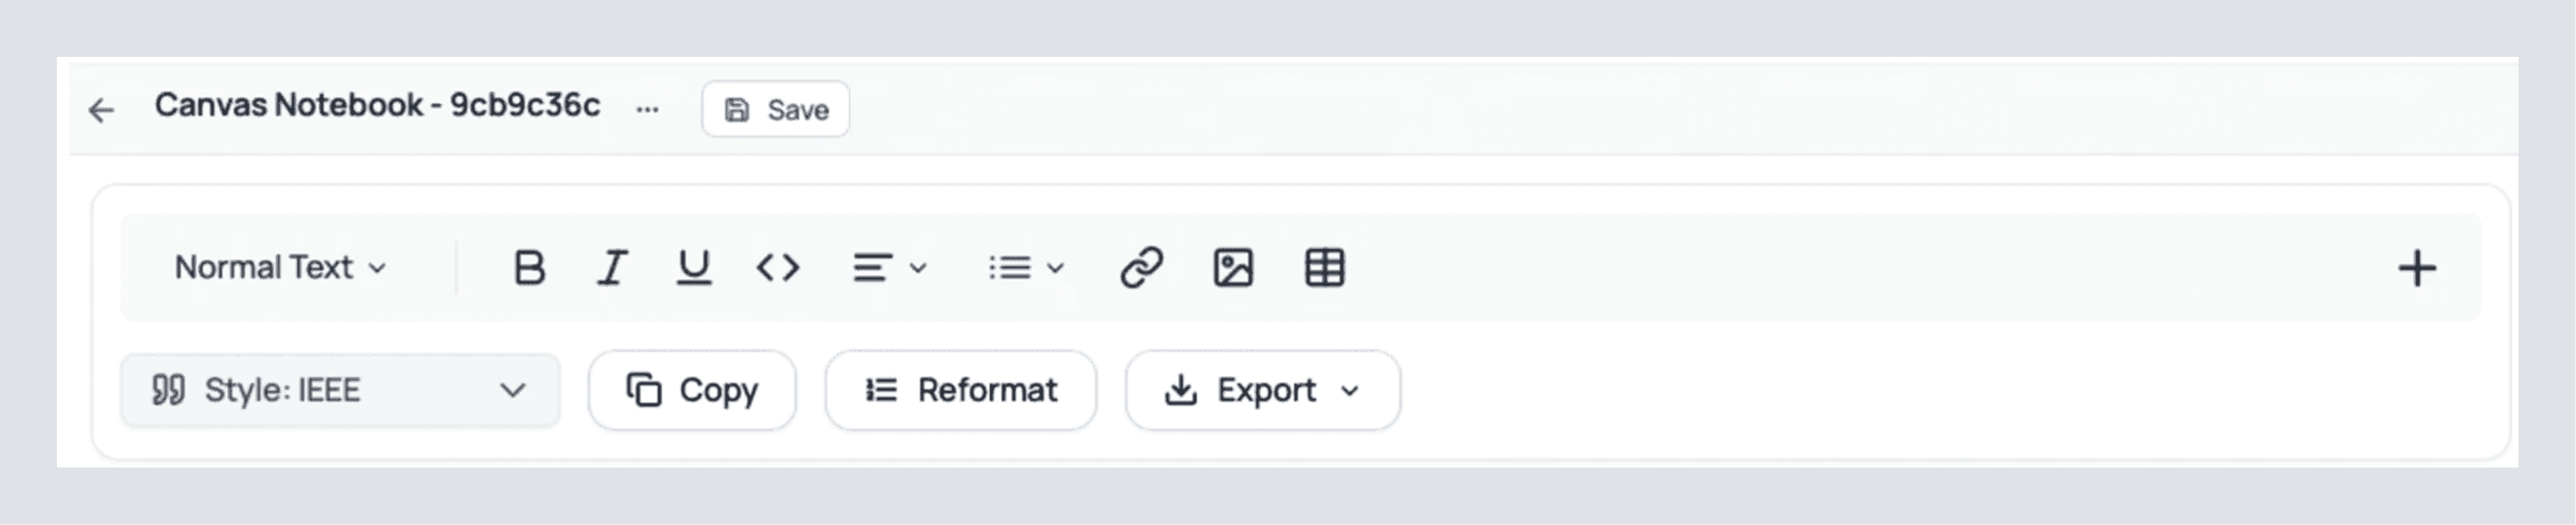
Just below these options, we can clearly see more valuable tools. Try clicking on the citation style button to change the citations of your writing to any one of 6000+ citation styles we offer. And after you've read through this tutorial and perfected your literature exactly to how you want it, you can click export. This allows you to download the text as a PDF, DOCX, Markdown, or LaTeX file
Before we explore those 4 tabs you've been looking at on the right-hand side. Try highlighting a piece of your text. You'll see a dropdown like this:
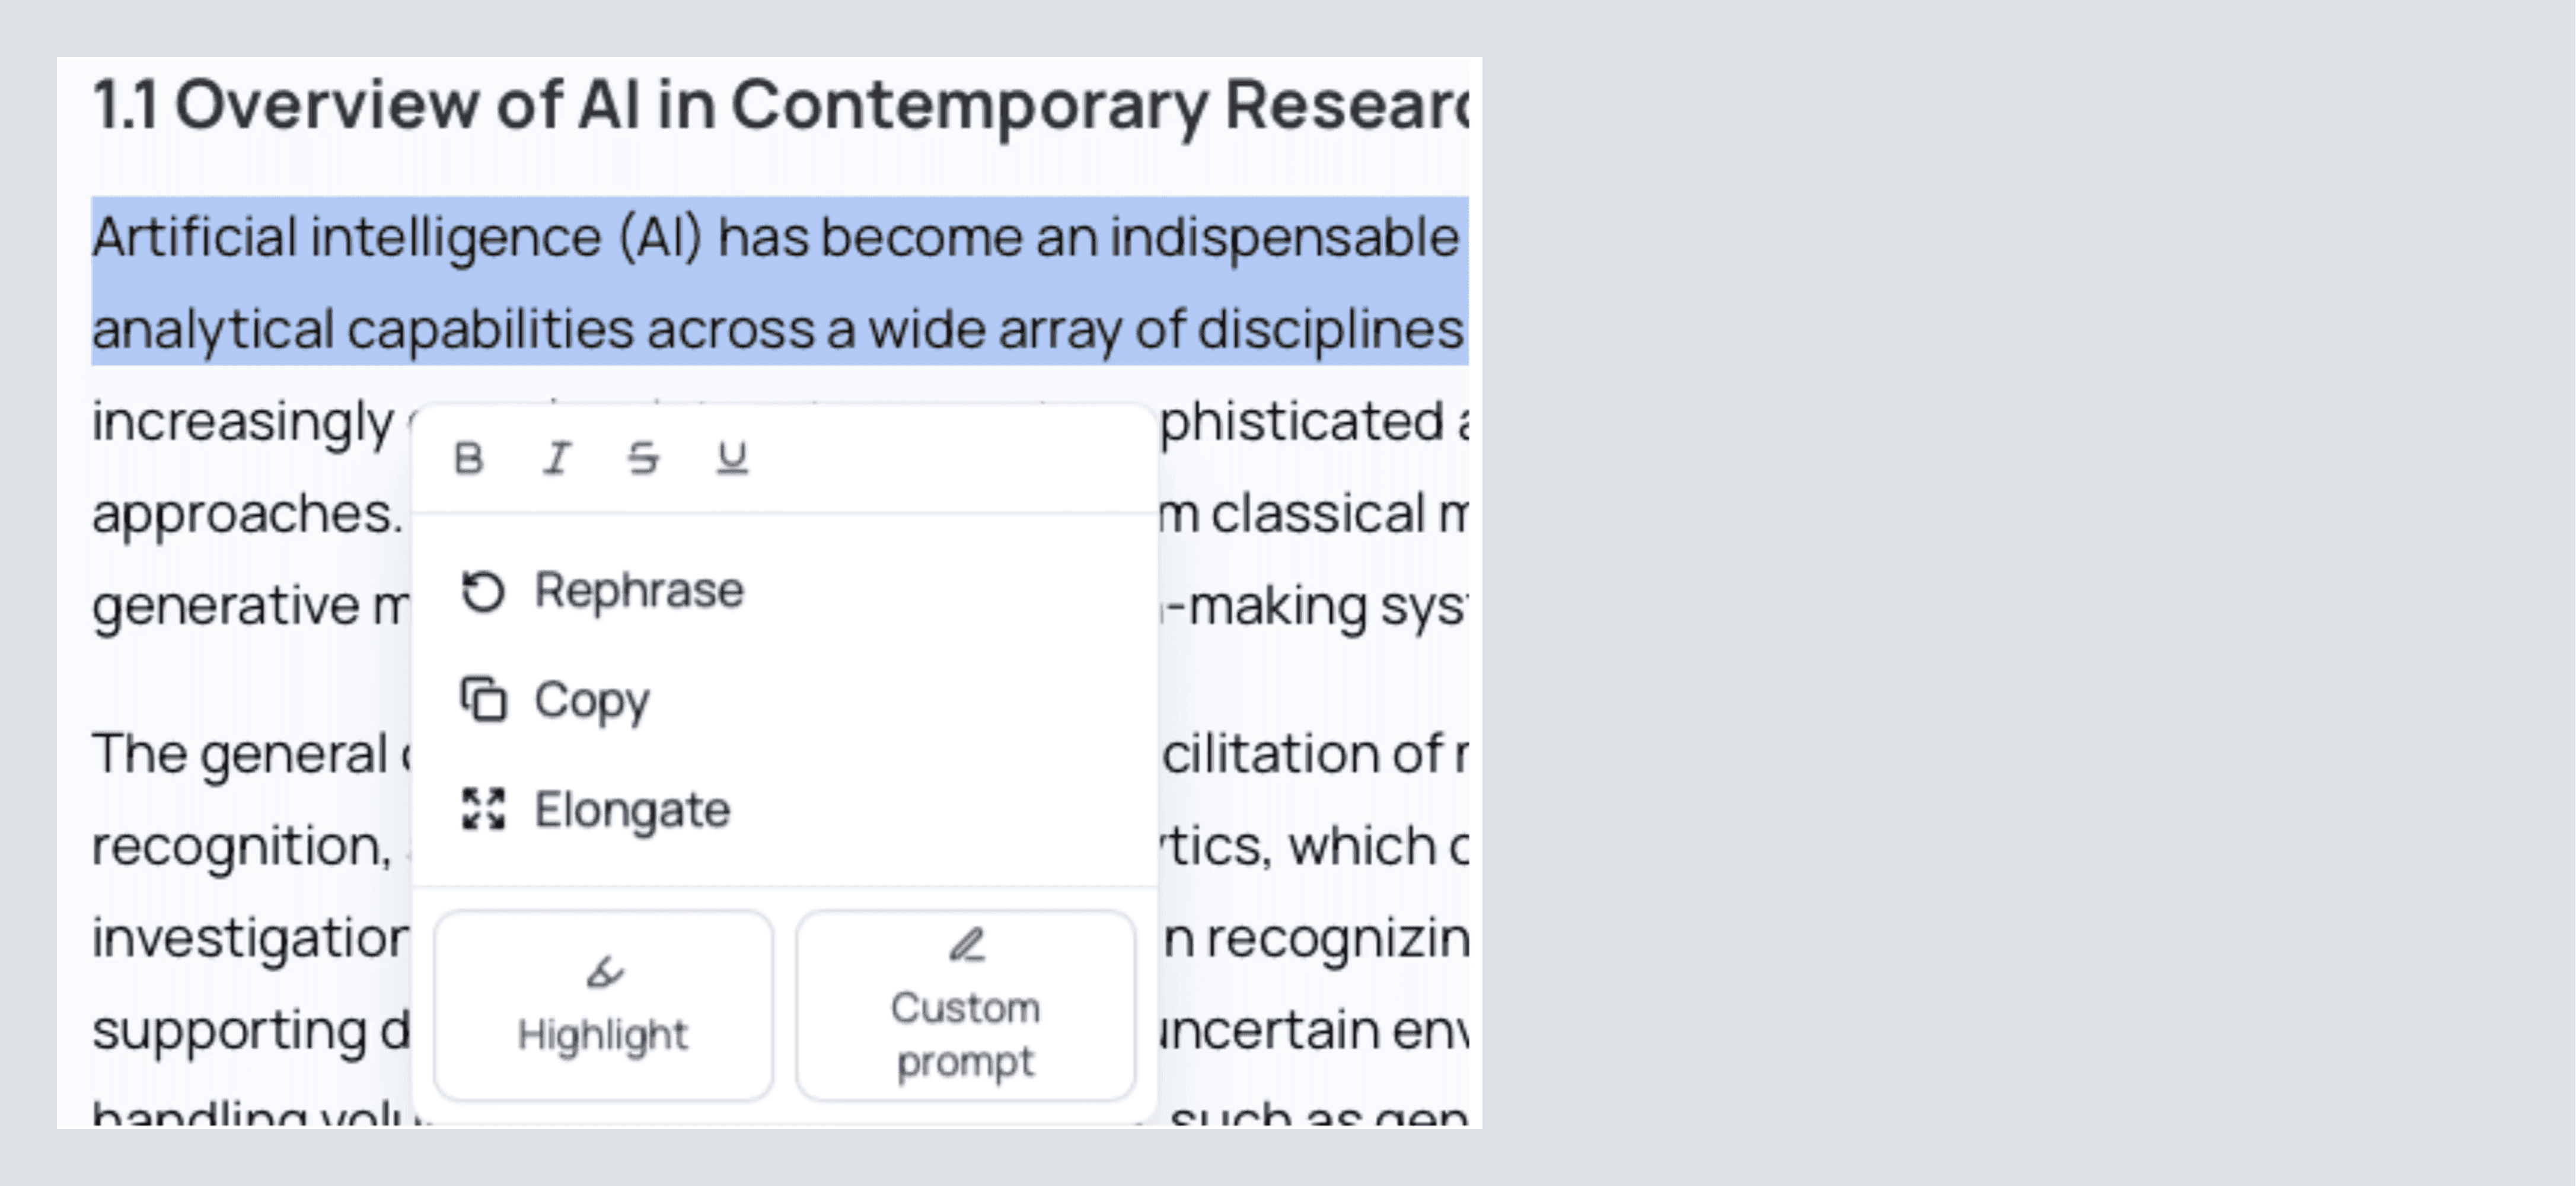
You can select rephrase for a quick and easy change of tonality and style of writing. It’s a great way to make a section clearer and create a dynamic piece of writing. Elongate is similar to this, except it will expand on your writing with the type of rigor that you’d expect in a professional piece of text.
Finally, you can click custom prompt to tell AnswerThis exactly how you would like to change the text or to continue adding to what you have written. You’ll notice that as you use all of these options, AnswerThis automatically adds sources where necessary and adds the new text in the exact formatting you had before!
If you’re not already excited about what you can do with AnswerThis to advance your research.
Check For Plagiarism and AI Detection
On the right side of your full notebook, you’ll see a tab with 4 buttons at the top. Click on analysis. Once here, we can scan our entire document for AI or for plagiarism.
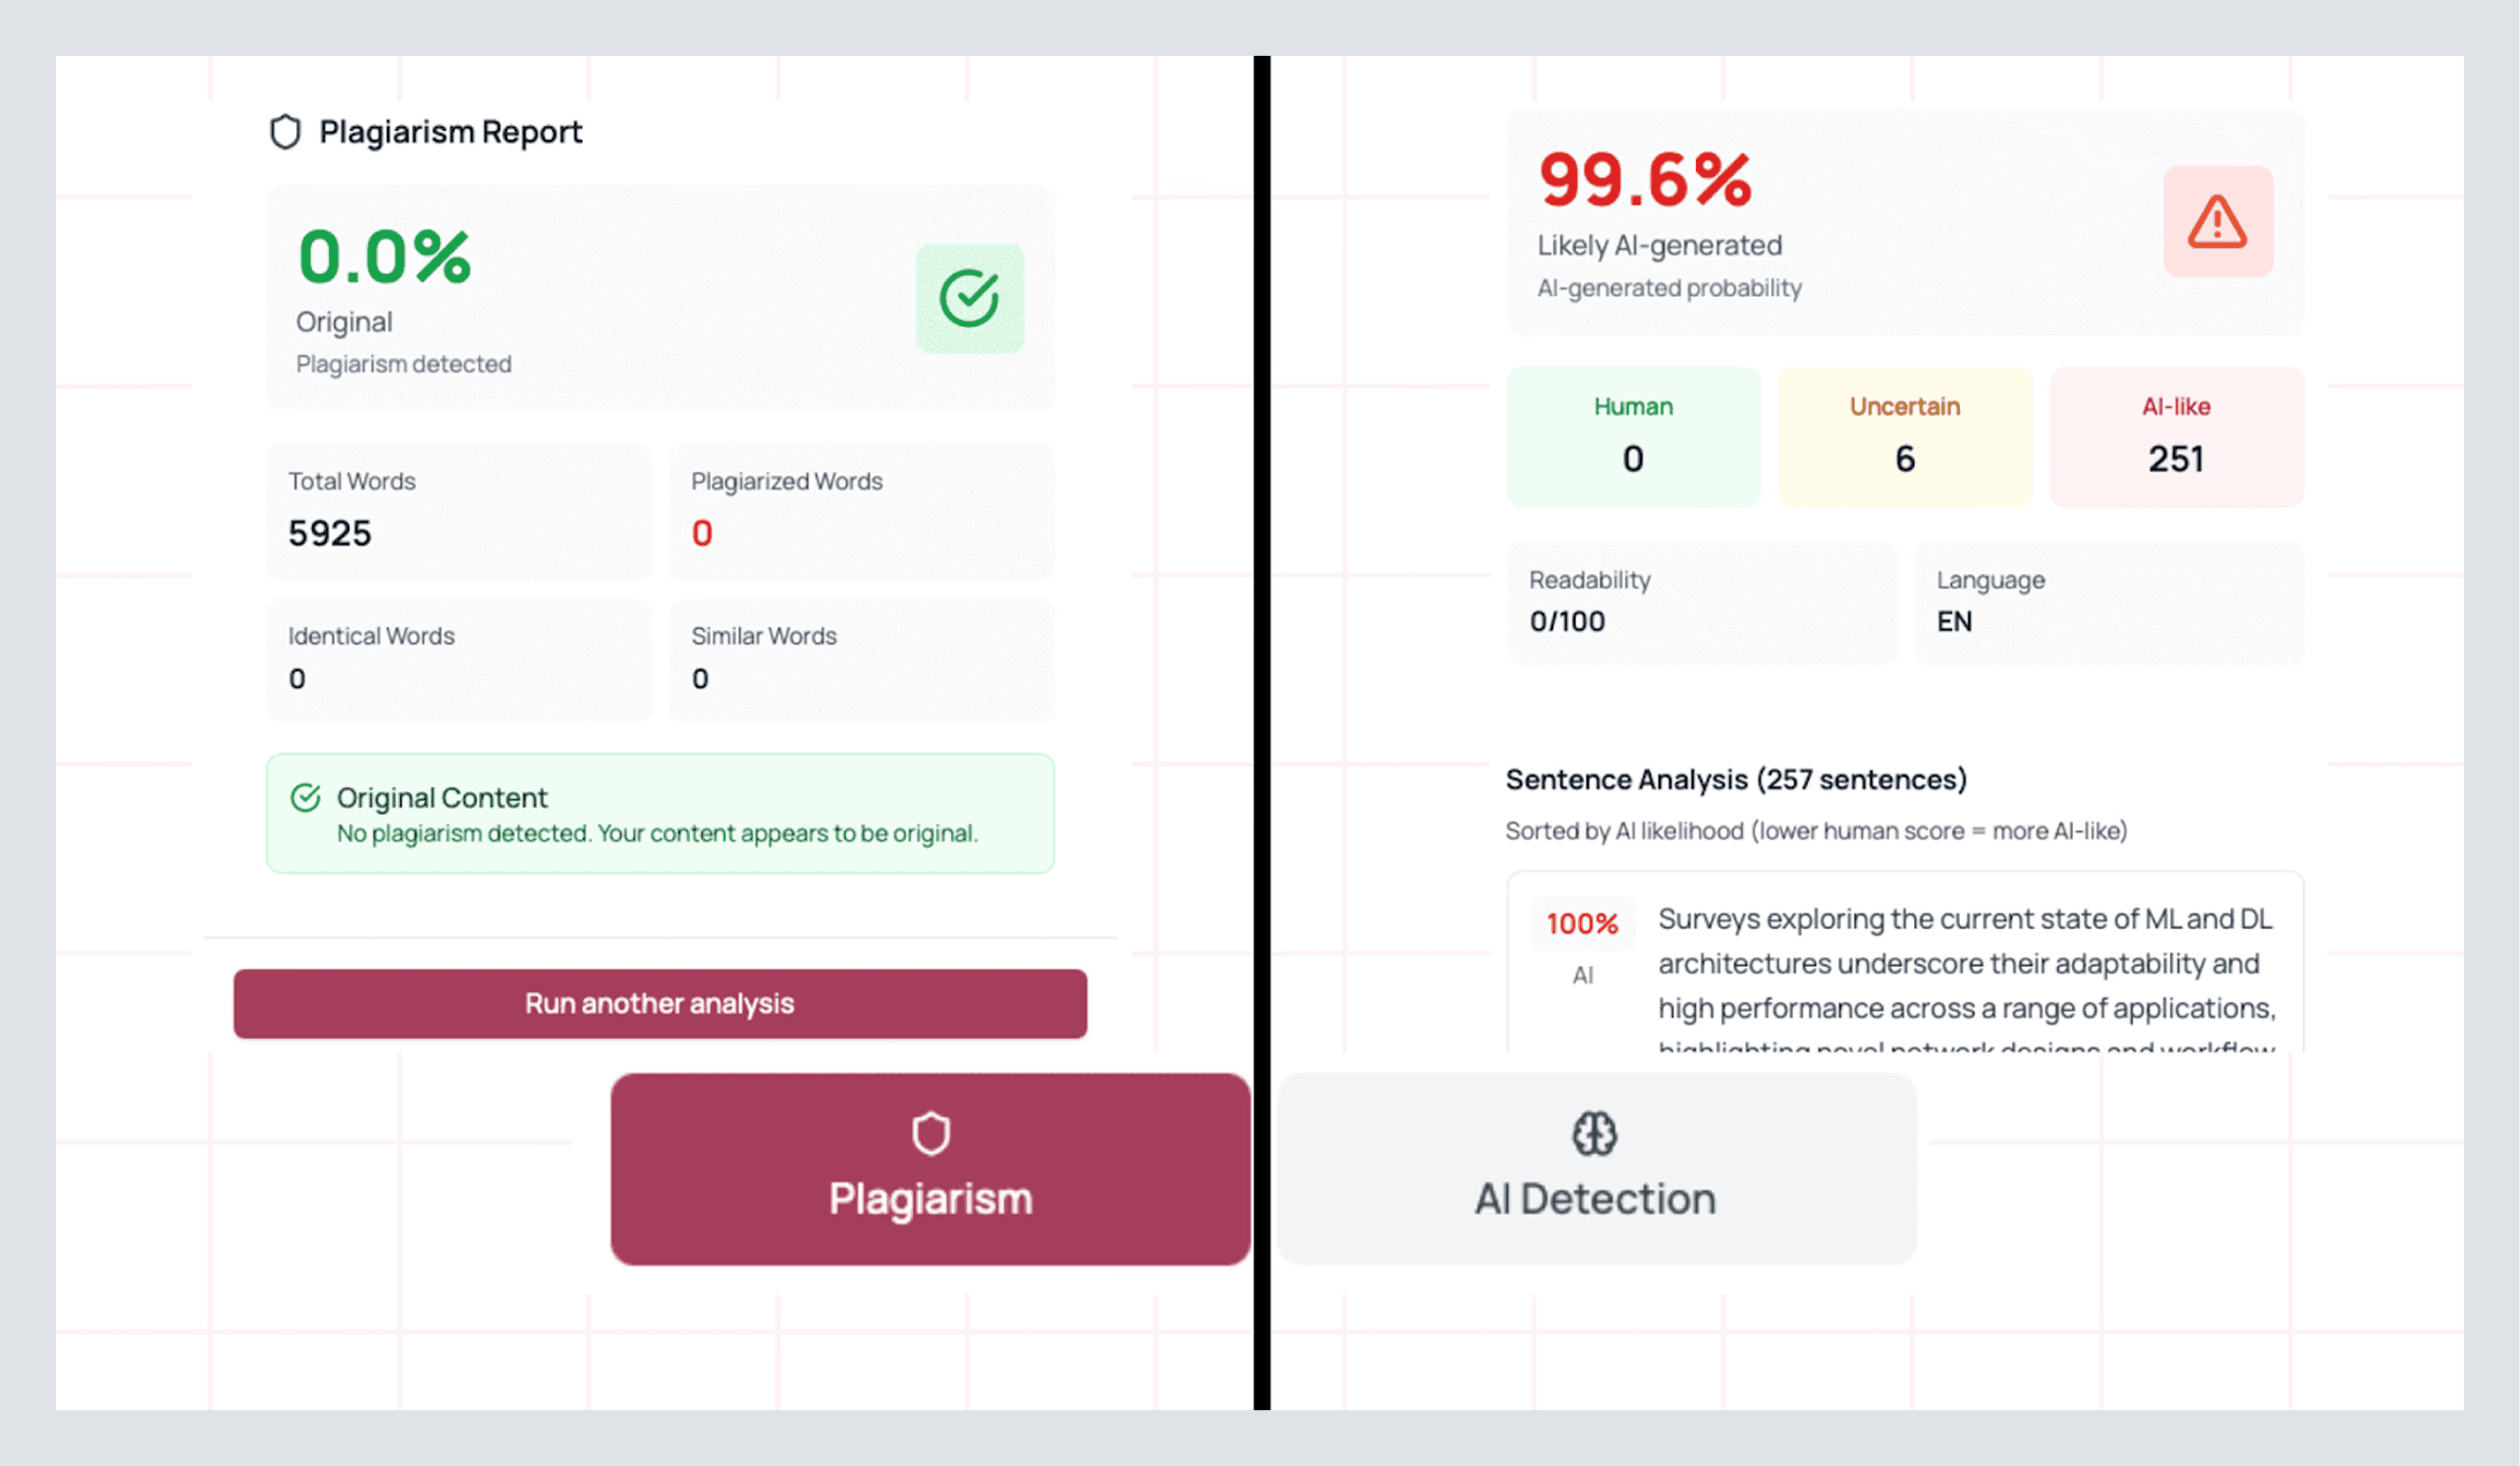
Simply click on the option that you prefer and press Analyze entire document, and you’ll be greeted with a dashboard that looks like this, breaking down your entire document:
Both options will give you a breakdown of exactly which lines were detected for AI/plagiarism. You can click on this text to be brought to the exact lines that are causing the error and fix them to make sure your writing is perfected for all tests. When you are finished, you can click on run another test at the bottom of the dashboard.
Additionally, you can run these tests on select pieces of your text but clicking on Selection at the top, then selecting the piece of text you’d like to test, and clicking Analyze text to be brought to the same dashboard.
If this wasn’t enough, you can click on Custom (the top right option). This will allow you to copy and paste text with GPT, QuillBot, and other AI examples of writing so that you can avoid AI detection amongst several models. You can also detect plagiarism here to.
Insert Citations From Your Library or By Searching Papers
Your project will never be short on accurate citations after you read this! In Full Notebook, look to the right panel. Open Library if you’ve already been saving papers, or open Search Papers if you need one more precise source.
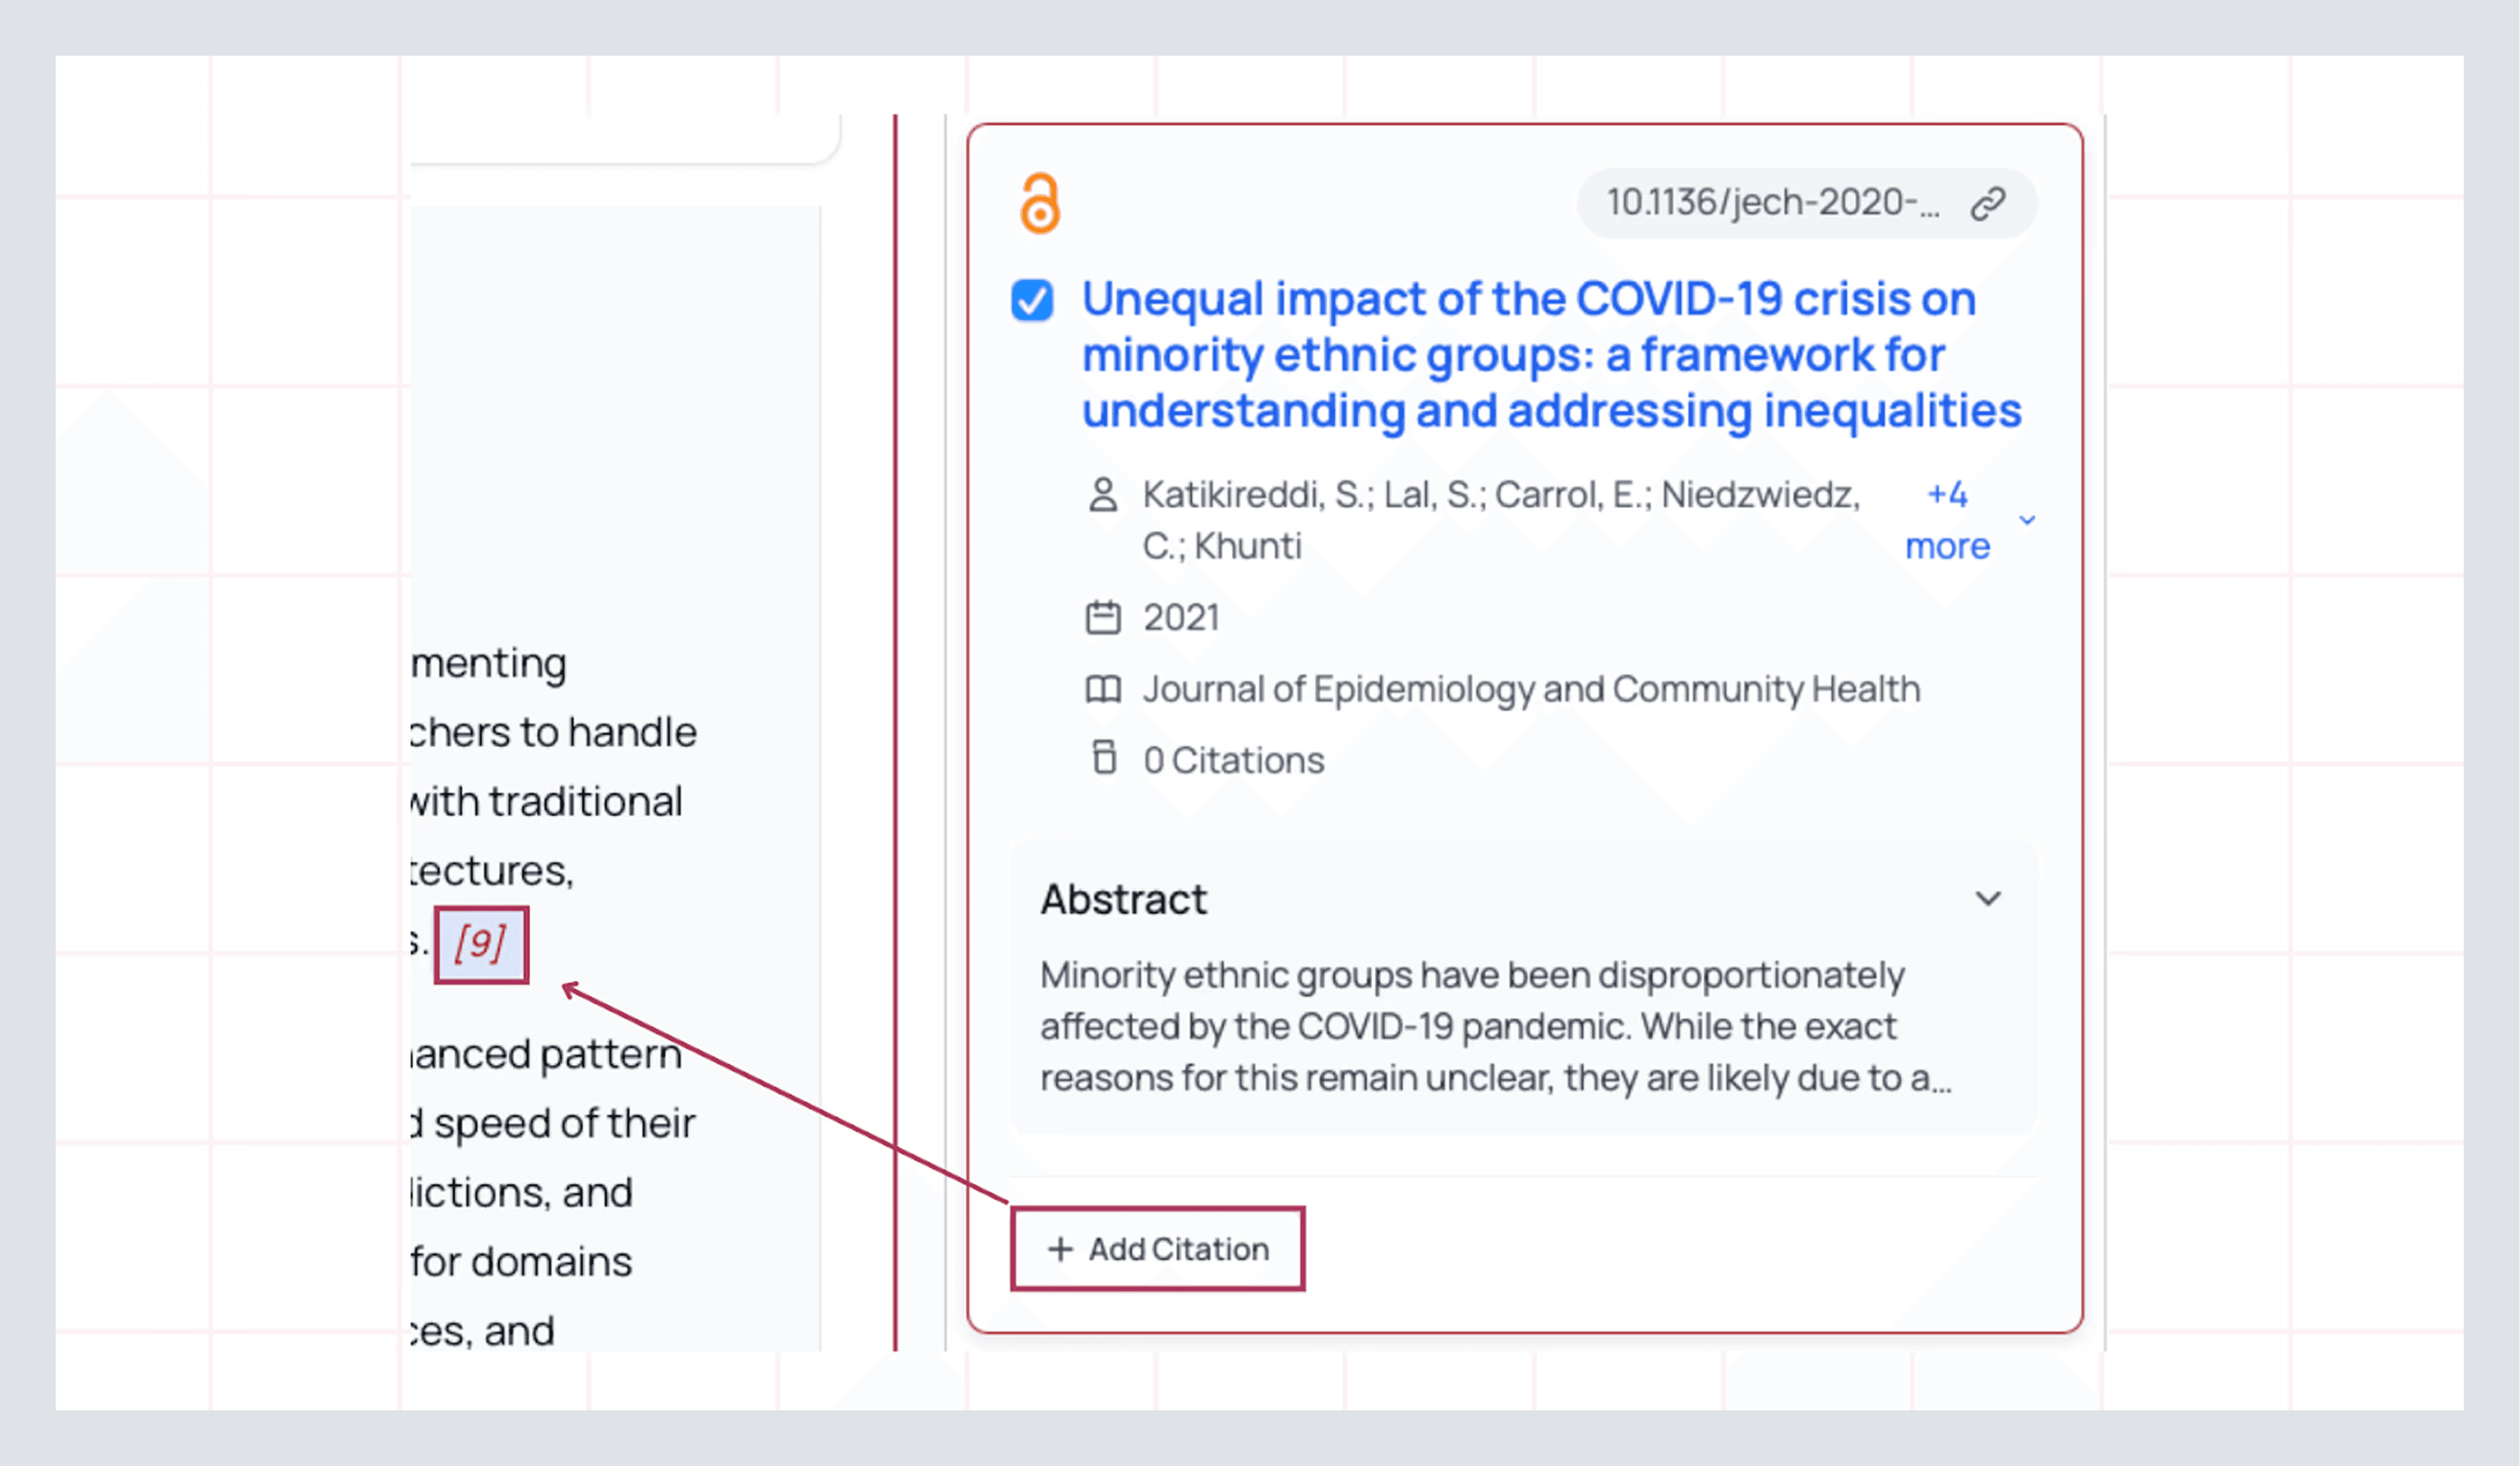
From Library: scroll or search by author, title, or/and keyword search by using the filters tab if you are looking for specific paper/s to cite. Just below the paper, you’ll see a cite button. Click it once for an in-text citation (it will be inserted where you had been editing in the document before).
Because your Notebook already knows the style you chose earlier, the reference is formatted automatically and synced to your bibliography. If you cite the same paper twice, AnswerThis deduplicates it. There shall be no messy “double entries” later.
From Search Papers: type some keywords or a prompt as you would in a tool like ChatGPT. Use more filters to pin quality (Q1/Q2), date bounds, and add databases. Then Add to Notebook → Cite. If the paper is a keeper, hit Save to add it to your Library before you move on. That way, the source is available to the rest of your canvas (tables, follow-ups, and future reviews). If you need to cite the paper, you can also do so here as well
And just like that, you are now equipped with all the tools you need to mold your work into something you are truly powerful.
Collaborating With Your Team
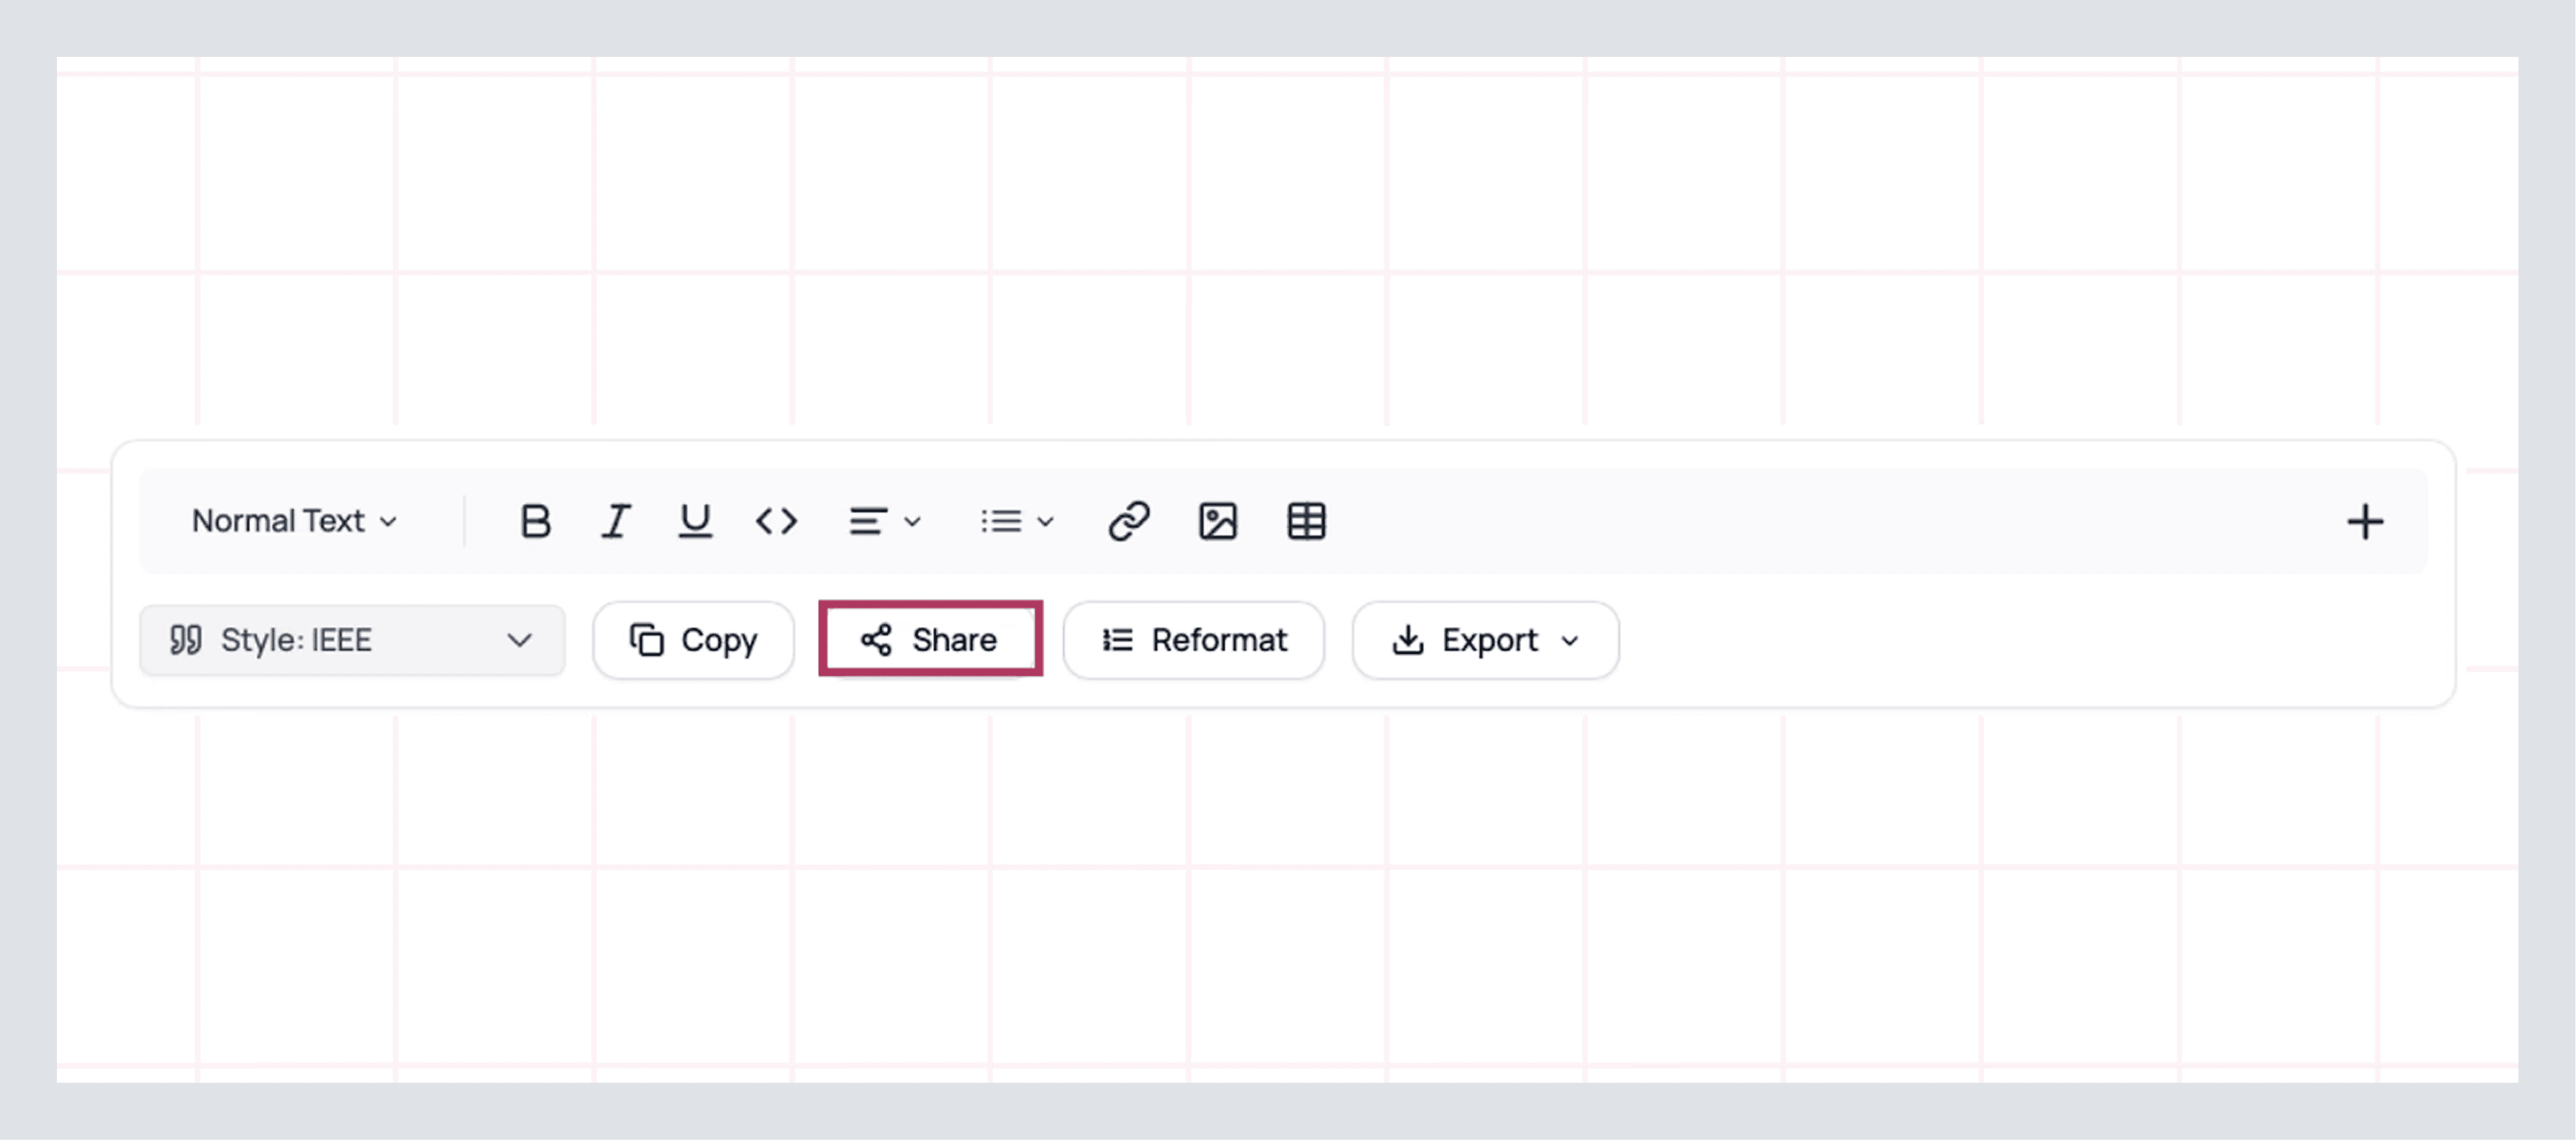
If you are doing a project or collaborating with others in your work, stay in AnswerThis. Within the editor, click Share and invite by email. Teammates will see your Notebook with the sources docked to the right, so comments land next to the paragraph they reference, and verification is one click away.
Additionally, if you want to share libraries, share canvases, and other work that you do throughout AnswerThis, click on your profile icon on the top right. Select members on the left. Insert their email into the box and invite them. Now both of you are on the exact same page when it comes to your project/work!
Congratulations! You’re now well-equipped to take on any project that comes your way. But now let’s explore the feature that you can access on the left-hand side.